1

Your cart is empty.

The #1 Virgin Human Hair Company

15 Sep '18

How To Cure An Itchy Scalp While Wearing A Sew-In


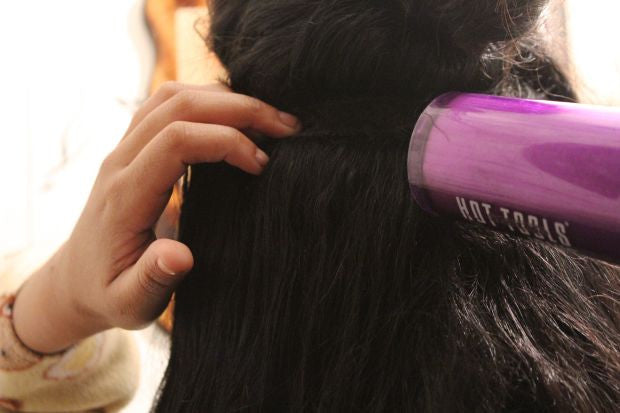
Do you find yourself with a plastic fork or the end of a rattail comb scratching away at the braids under your sew-in? Drop the fork, and walk away. You may be causing more harm to your already irritated scalp. Don’t scratch with anything that will irritate your scalp more than it already is. With every harsh scratch, your scalp can get scabs causing damage and hair loss. The irritation or itch occurs because you generally don’t wash your hair as much while wearing weave or extensions. It might seem as if your scalp itches more than usual a week or so after adding hair extensions. Here is a harmless way to soothe your irritated or itchy scalp quickly, without disrupting your braids. Using a clean bottle with a nozzle attachment apply liquid hair oil directly to your scalp or try Dark n Lovely's scalp soother. It is also good to apply oil to your braids after washing and drying your hair. If you have questions or would like me to blog about a hair issue you are currently having, please leave your questions in the contact form on hairnparis.com

31 Oct '16

Hair-N-Paris Products and Reviews

Hair-N-Paris offers 100 percent unprocessed, virgin hair. Our products comes in many different textures such as Malaysian, Peruvian, and Brazilian. We offer 6A to 8A grade hair in a wide range of lengths and styles. To learn more about the hair grade system, see our previous blogs. We provide shed and tangle free unprocessed virgin hair. However, due to high demand we have added Ombre hair to our store. We offer free fast shipping for all customers. All orders are delivered free of charge in 3 to 7 business days. Hair-N-Paris ensures our customers are receiving high quality virgin hair at a great price. I have attached a picture of what our product looks like before we add the logo tags and packaging. This blog is also being posted to encourage customer who have purchased from us to please leave a review. I take all customer concerns seriously and will attempt to address and correct any issues. So... please feel free to leave a review or ask any question. I will respond to any and all question or concerns. Thank you for taking the time to read this blog to better get to know Hair-N-Paris. If you have not yet placed your first order and are still unsure of our company, I would love to help.  "New Customers" enter coupon code Newbie for 20% off and free shipping.

19 Jul '16

DIY Extension Dying At Home

For those of you who like DIY hair dying, this blog is just for you.  If I can learn to do it myself, then I'm all in. Below are six very easy steps to dying your hair weave at home.

Materials Needed: Hair Extensions / Tracks Hair Dye or color, a brush, color bowl, plastic wrap, gloves, large towel, aluminium foil, and a wide tooth comb.

Step One - First, be sure to disentangle the extensions by combing through them with your wide tooth comb. Make sure that all product are completely washed out of the extensions before applying the color. Dry the extensions after disentangling and washing them by placing them on a towel.

Step Two -  Next, prepare the hair color mixture. Before proceeding with this step, ensure that your hands are well protected by wearing the rubber gloves. Follow the instructions that came with the hair color.

Step Three – Once you have followed the preparation instructions for mixing the hair color. Use the dye to coat your hair extensions. Comb through the extensions to ensure that the hair color is evenly distributed and coats all the areas you want dyed. Cover the hair extensions with aluminum foil once you finish applying the dye. Allow the color to set into the hair as noted on the color box.

Step Four – You will now be rinsing excess hair color from the extensions. For faster and complete removal of color, use warm water when rinsing the extensions. Once all the dye has been removed, shampoo the and apply a conditioner. You may want to comb through the extension gently while the conditioner is in the hair to straighten the hair. Allow the conditioner to rest for up to 10 to 15 minutes.

Step Five – Now that your extensions are colored. Rinse the conditioner out of the extensions using cold water. The cool water method will leave your hair shinny as well as seal in the color.

Step Six - Finally, air dry the extension, which will preserve moisture. If you would like you can also blow dry the extensions to speed up the drying process.

10 May '16

Drying Your Weave / Braids Underneath your Weave #Weave 101

Drying Your Weave / Braids Underneath your Weave #Weave 101


I’ve covered how to wash your weave and braids underneath in a previous blog, if you have any questions contact through my contact form on Hairnparis.com. If you take anything from this, make sure you focus on the braids underneath your weave and your weave is perfectly fine air drying. First, and for most, dry your hair completely when wearing a weave after washing it. When you wash your hair and your braids get wet underneath, if your braids do not dry completely, your hair will begin to have a mildew like smell. Ladies, this is not a good look. You cannot have your hair blowing in the wind smelling like mildew. Sitting under a dryer and letting your hair completely dry will combat that scary smell. Like most people who wash their weave, but who cannot afford to see your hair stylist every week or bi-weekly, please follow this steps.

  • Detangle your hair / weave using your fingers or large detangling brush (avoid harshly pulling on your wet hair)
  • Using your fingers part your weave following along the track, starting at the lower back of your head.
  • Using a hand held blow dryer, but not touching the dryer directly to your hair. Blow directing the heat towards your braids / track.
  • Complete these steps until you have dried your braids.
13 Apr '16

Washing Your Extensions and Your Hair

Posted by Paris Evans in Blog, Sew-In, Washing Extension, Weave, Weave 101

While wearing a weave you can’t wash your hair like you normally do. You want to ensure that you care for your extensions as well as your natural hair. First, we will cover washing the braids under which the weave is sewn to. Washing your natural hair while wearing weave is easier if you use a bottle with a nozzle attachment. Add your favorite sulfate-free shampoo and mix with water, you could also do this with conditioner as well. With the nozzle attached to a bottle you can get the shampoo mix into all the different crevices and in-between your braids. After applying the solution to your braids that are under the sew-in, lightly massage your scalp with your fingertips. Rinse and repeat at least twice. Okay! Know that you’ve washed your braids, time to focus on your extensions. Rather you have your weave parted in four section, 2 section, or not parted at all. It is very important that you apply your shampoo and smooth in one direction. A downward motion is best. Never do a front to back, back and forth motion, this causes extreme tangling. Rinse using the same downward motion.