The Beauty of a Black Woman's Crown
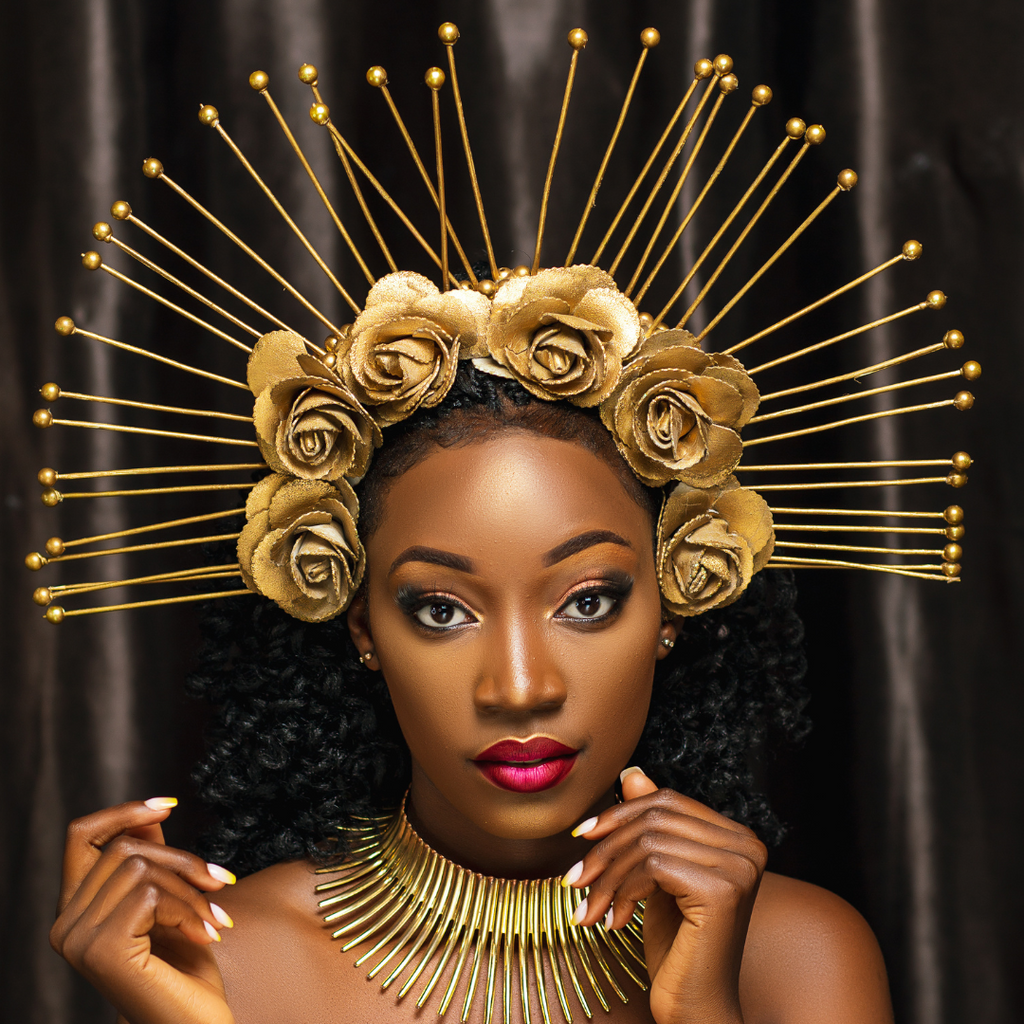
Black women’s hair is more than just a hairstyle, it is a crown that represents beauty, strength, and resilience. From the days when black women’s hair was forcibly straightened, to the modern day when women are proudly and boldly wearing their natural hair, black women’s hair is a symbol of courage and perseverance.
In this article, we’ll discuss why black women should embrace their hair and highlight four different hairstyles that are popular among black women.
Why Black Women Need to Embrace Their Hair
For many years, black hair was considered unprofessional, unmanageable, and undesirable. However, by embracing their hair, black women can take charge of their identity and celebrate their culture and heritage on their terms.
Also, black women should embrace their hair because it is a source of inspiration for the younger generations. By embracing their hair, black women are sending an important message to the young, black girls that their hair is beautiful and something to be celebrated.
Popular Hair Styles for Black Women
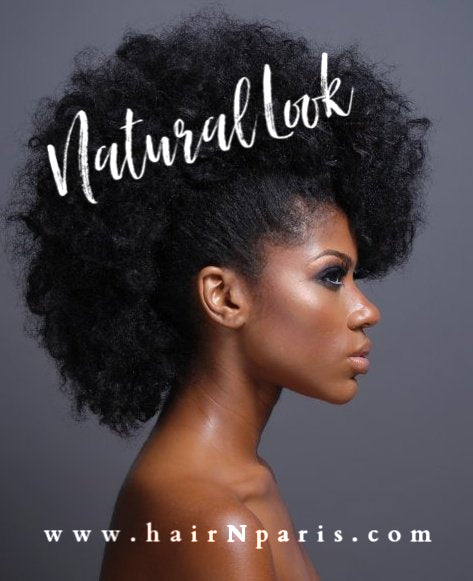
In the black community, hair is a powerful form of self-expression. Black women have been blessed with the incredible privilege of having unique and versatile crowns of curls that amplify their strength and confidence.
Part of the beauty of black hair is that it can be styled in so many ways. From protective styles to dreadlocks, afro, or straightened, there are endless possibilities for black women to create and explore new looks.
The following are four popular hairstyles that black women love:
- Braids
Braids are a popular hairstyle that comes in many different textures, lengths, and colors. Originating from Africa, braids are seen as a symbol of beauty and pride in black culture. This low-maintenance hairstyle is excellent for protecting black hair.
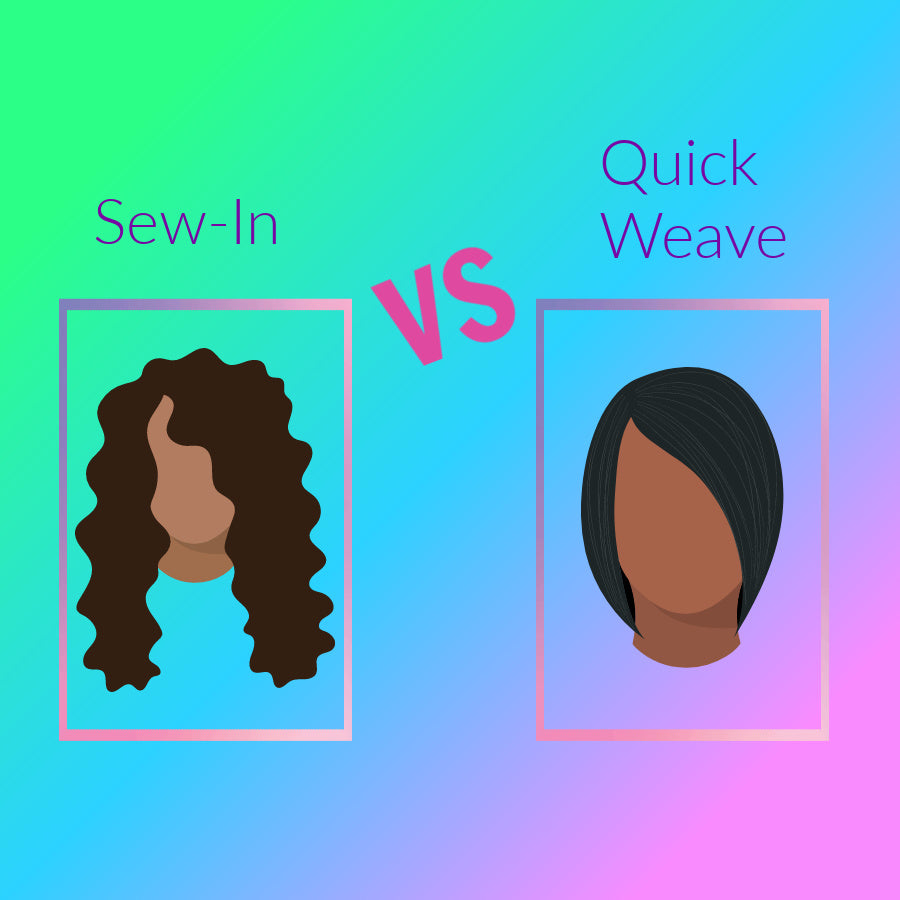
- Sew-ins
Sew-ins offer black women the ability to change their hairstyle quickly and easily while protecting their natural hair. They can be customized to create a unique look and give black women the chance to experiment with different styles and colors.
At Hair-N-Paris, there is a wide collection of single bundles and bundle sets that can be used to create beautiful sew-ins.
- Cornrows
Cornrows are a traditional African hairstyle that has maintained its popularity amongst the black community worldwide. Cornrows can be achieved with or without hair extensions and can be styled in a variety of ways ranging from simple to intricate, geometric patterns. This style is fashionable and serves as a protective style for black hair.
- Wigs
Wigs have increased in popularity over the years. Wigs are a great way to express personal style and are a convenient way to quickly change up hairstyles and colors without having to damage your hair in the process.
At Hair-N-Paris, there are several varying styles and colors of wigs making it easy to find the perfect wig that will suit your personality.
Final Thoughts
Every black woman’s hair has its unique texture and pattern. Through various styling options, black women can express their personality through their hair. So, let’s embrace our hair and use it as a form of self-expression and celebration of our unique beauty.